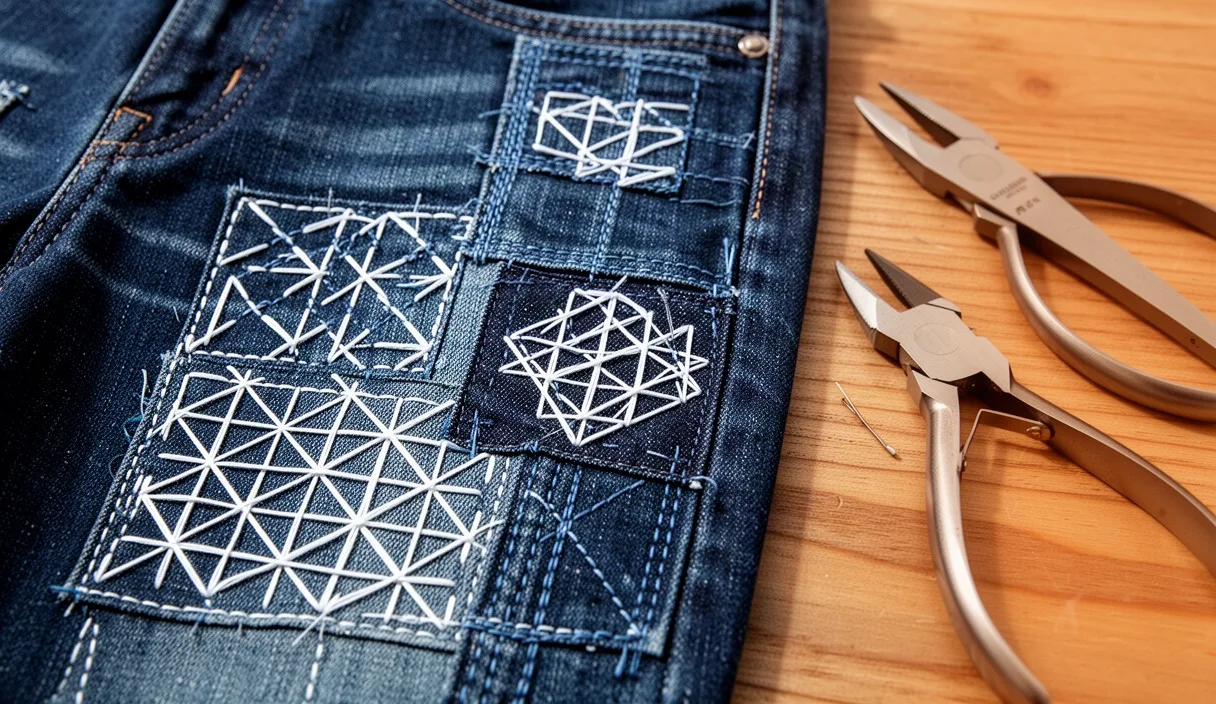
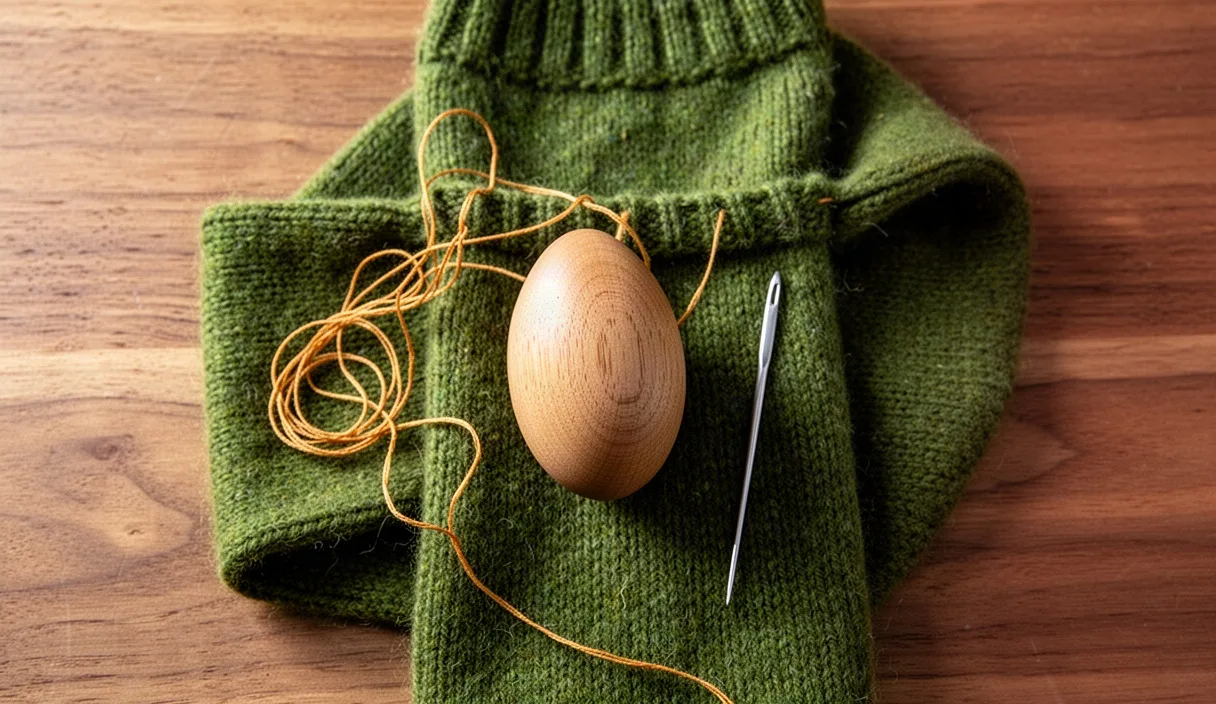

Sweaters wear down at predictable friction points: elbows, cuffs, collar edges, and the side ribs where a shoulder bag rubs on a daily commute. Occasionally, the damage comes from a clothes moth that happened to have expensive taste in fine merino. Visible darning meets these breaches directly. Instead of attempting an invisible repair that requires matching dye lots and replicating intricate gauge patterns, visible mending uses contrasting yarn to turn a weak spot into a deliberate, graphic feature of the garment.
The practice treats the damaged section as a miniature loom. Knit fabrics naturally stretch and recover, while standard darning produces a woven, non-stretch patch directly over the void. Balancing these two mechanical behaviors takes some care. When the tension is set properly and the edges are anchored into sound fabric, a visible darn stops runs from expanding and adds years of utility back into an otherwise retired wool layer.
Assessing Knit Damage and Yarn Weight
Before threading a needle, examine the damaged area under strong, direct light. Stretch the fabric slightly across your fingers to determine where the wool is sound and where it has worn thin. A hole rarely exists in isolation; it is almost always surrounded by a halo of abraded, fragile stitches that will tear under the stress of a fresh mend if you anchor your thread into them. Your mend needs to cover both the open void and this surrounding thinned zone.
Next, identify whether the break includes live loops. In knit garments, a severed yarn can cause loops to drop downward in a run, known as a ladder. If you see open loops hanging at the top or bottom of a hole, hook a safety pin or locking stitch marker through each one so they do not slide further down the knit columns while you handle the sweater. Stable, felted holes in boiled wool can be darned without catching individual loops, but standard jersey or ribbed knits require every single loose loop to be secured during the prep work.
Match your mending yarn to the weight and nature of the sweater. Using a heavy worsted yarn on a featherweight cashmere cardigan pulls the garment out of alignment and creates a hard, puckered lump. Conversely, thin embroidery floss placed across a thick fisherman knit will slice through the soft wool fibers like wire through cheese. As a working guideline, choose a mending fiber with a similar diameter and tensile strength to the sweater yarn.
| Sweater Type | Approximate Gauge | Recommended Mending Yarn | Needle Size |
|---|---|---|---|
| Fine gauge (cashmere, merino baselayers) | 28 to 34 stitches per 4 inches | Single-strand crewel wool, 2 strands cotton floss | Size 22 to 24 tapestry needle |
| Standard lightweight (commercial pullovers) | 20 to 26 stitches per 4 inches | Fine darning wool, 2-ply fingering weight yarn | Size 18 to 20 tapestry needle |
| Medium gauge (Shetland, DK-weight handknits) | 16 to 20 stitches per 4 inches | Sport weight or standard darning wool blend | Size 16 to 18 tapestry needle |
| Chunky knits (Aran, bulky outerwear) | 10 to 14 stitches per 4 inches | Worsted wool yarn, tapestry wool | Size 13 to 15 tapestry needle |
Selecting Needles, Thread, and Tension Aids
A blunt tapestry needle is the primary tool for visible darning. Sharp sewing needles pierce the yarn fibers of the sweater, which splits the plies and weakens the knit structure. A blunt tip slips smoothly between stitches and glides over and under your woven grid without snagging previous passes. Keep a range of sizes on hand so the needle eye accommodates your thread without dragging heavily through the fabric.
Thread choice dictates how the patch weathers future laundering. Dedicated darning yarns, often spun as a blend of wool and a small percentage of nylon, provide excellent abrasion resistance, making them suited for elbow patches and sock heels. Pure wool crewel yarn offers deep, saturated color and blooms pleasantly when washed, integrating into the surrounding fabric. If you use stranded cotton embroidery floss for visual contrast, wash-test a swatch first: cotton does not shrink or stretch at the same rate as wool, which can cause differential puckering over time.
Supporting the sweater under the correct tension keeps the mend flat. Three common tension aids exist:
- Darning mushroom: A rounded wooden tool inserted under the hole, held in place by its stem. Its domed surface maintains a slight outward curve, which is ideal for elbows, heels, and sleeve caps where the garment needs to accommodate a bent joint.
- Darning egg: A handheld wooden or ceramic oval without a handle. It slips easily into tight cuffs, glove fingers, and socks, offering a hard, smooth surface to work against.
- Embroidery hoop: Suitable only for broad, flat areas like the front chest or back panel of a sweater. If using a hoop, do not tighten it so firmly that it stretches the knit out of shape; clamp it loosely to avoid permanent distortion of the ribs.
Anchoring Perimeter Stitches Around the Hole
Center the damaged section over your tension aid. Smooth the fabric outward from the center until the knit grain sits parallel and perpendicular, without twisting. Cut a working length of thread roughly 18 inches long. Longer strands tangle and become abraded from repeatedly passing through wool, while shorter strands require excessive splicing.
Begin roughly 8 to 12 millimeters outside the thinned area on firm, undamaged fabric. Do not tie a knot in the working yarn; knots form irritating pressure points against the skin and pull through loose knits. Instead, leave a 3-inch tail on the wrong side of the garment. Work a simple running stitch through the sound knit stitches, traveling around the hole in a square or rectangular perimeter.
As your perimeter stitches approach any live, dropped loops, guide the needle directly through the center of each loop from back to front. Catching these loops secures them to the running stitch boundary, preventing the vertical ladders from traveling down the sweater once tension is applied. Complete the rectangle by overlapping your final stitches with your starting stitches by three or four passes to lock the thread in place through friction.
Weaving the Horizontal Foundation Threads
The first pass of the darning grid consists of horizontal warp threads laid across the gap. Position your needle so it exits along the outer perimeter boundary on one side of the hole. Bring the needle across the open space, parallel to the sweater's horizontal knit rows, and insert it into the sound fabric on the opposite side, roughly two knit columns past your perimeter line.
Take two small running stitches in the sound fabric to step up to the next row, then carry the yarn back across the hole to the first side. Continue this back-and-forth traversal until the entire hole and the surrounding thin zones are covered with parallel strands. Space these threads evenly, matching the spacing to the natural gauge of the sweater. On a fine knit, strands should sit roughly 1 to 2 millimeters apart; on a chunky knit, 3 to 4 millimeters apart.
Tension control during this stage determines the success of the patch. If you pull the foundation threads taut, the knit fabric will gather beneath them, creating an unsightly puckered ring around the finished mend. If you leave them too loose, the woven patch will bag and snag on buttons or jewelry. Allow the thread to rest flat against your darning mushroom with neutral tension: neither sagging into the hole nor constricting the curved surface.
Working the Perpendicular Cross Weave
Once the horizontal foundation spans the entire damaged zone, turn your tension aid by ninety degrees to begin the vertical weft weave. Take your needle down through the sound knit stitches at the edge of the patch, bringing it out just inside your boundary line. You will now interlace your working yarn through the horizontal warp threads.
To produce a classic plain weave:
- Guide the needle over the first horizontal strand, under the second strand, over the third, and continue this strict over-under sequence across the width of the patch.
- Anchor the needle into the firm knit fabric on the far edge by taking two small running stitches into the sweater body.
- Turn the needle to begin the return pass. For this row, alternate the sequence: slide under the strands you previously went over, and over the strands you previously went under.
- Gently press the new row toward the edge using the blunt side of your needle eye to pack the weave evenly.
- Repeat the process across the entire patch until no horizontal gaps remain visible.
For high-wear areas like elbows, consider a twill weave pattern, which moves over two threads and under one thread, staggering the sequence by one strand on each consecutive row. A twill structure yields a denser, thicker patch that resists friction better than a plain weave, though it requires closer counting to maintain the diagonal pattern across the repair.
Finishing Tails to Avoid Lumps Against Skin
Visible darning does not rely on hard knots to stay secure. Wool fibers have microscopic scales that naturally cling to one another; friction and gentle wear hold ends firmly in place if they are woven properly into the back of the fabric.
When your weft weaving is complete, bring the active needle through to the wrong side of the garment. Thread your remaining tail through three or four knit purl bumps in the sound fabric adjacent to the patch, reverse direction, and pass the needle back through the same plies, skipping one thread to lock the stitch. Repeat this duplicate-stitch anchoring method for the starting tail you left during the perimeter prep work.
For fine yarns, you can skim the thread through the center of an existing yarn ply for about 15 millimeters before trimming. Snip the remaining fiber ends, leaving roughly 4 millimeters of yarn extending on the wrong side. Trimming flush to the fabric risks the tail popping out to the front during the first wash; leaving a tiny buffer allows the tail to felt down naturally inside the garment without forming an abrasive bump against bare skin.
Common Mistakes in Visible Darning
Several recurring errors can compromise the durability or appearance of an otherwise solid mend:
- Over-tensioning the yarn: Pulling the working thread tight while weaving causes the surrounding wool to cup inward, forming a permanent bowl-shaped depression that cannot be steamed flat.
- Ignoring the perimeter buffer: Anchoring the darn directly at the ragged edge of the hole rather than several millimeters into sound fabric leads to immediate secondary tearing along the mend boundary.
- Mismatched fiber washability: Pair non-superwash wool with non-superwash mending yarn whenever possible. If you use untreated wool to mend a machine-washable superwash garment, the mend will shrink aggressively on laundry day while the sweater remains the same size.
- Skipping dropped knit loops: Failing to catch live ladders at the base of a hole allows them to unravel underneath the patch, eventually pulling free from beneath the woven structure.
Next Steps for Sweater Longevity
After snipping your final tails, remove the sweater from your darning mushroom or hoop. Lay the garment flat on an ironing board or folded towel. Hold a steam iron about 25 millimeters above the patch and apply a generous burst of steam without pressing the iron's soleplate directly onto the wool. Gently pat the warm mend with your palm to encourage the new woven threads to settle into the knit structure.
Give the entire garment a gentle hand wash in lukewarm water with a mild, no-rinse wool wash, then roll it in a dry bath towel to press out excess moisture. Lay it flat to dry away from direct heat sources. This initial soak allows the wool fibers to relax, bloom, and interlock slightly, stabilizing the new weave.
Keep a small mending kit assembled with your preferred tapestry needles, contrast yarn, and a tension mushroom in the drawer where your knitwear is stored. Inspecting your woolens at the end of every cold season lets you catch friction wear while it is still a small patch of thinned fabric, well before it requires a large structural repair. If a hole spans an intricate seam, a structural cable, or an expensive tailored jacket panel, consult a professional knitwear restorer or reweaver before attempting hand mending.