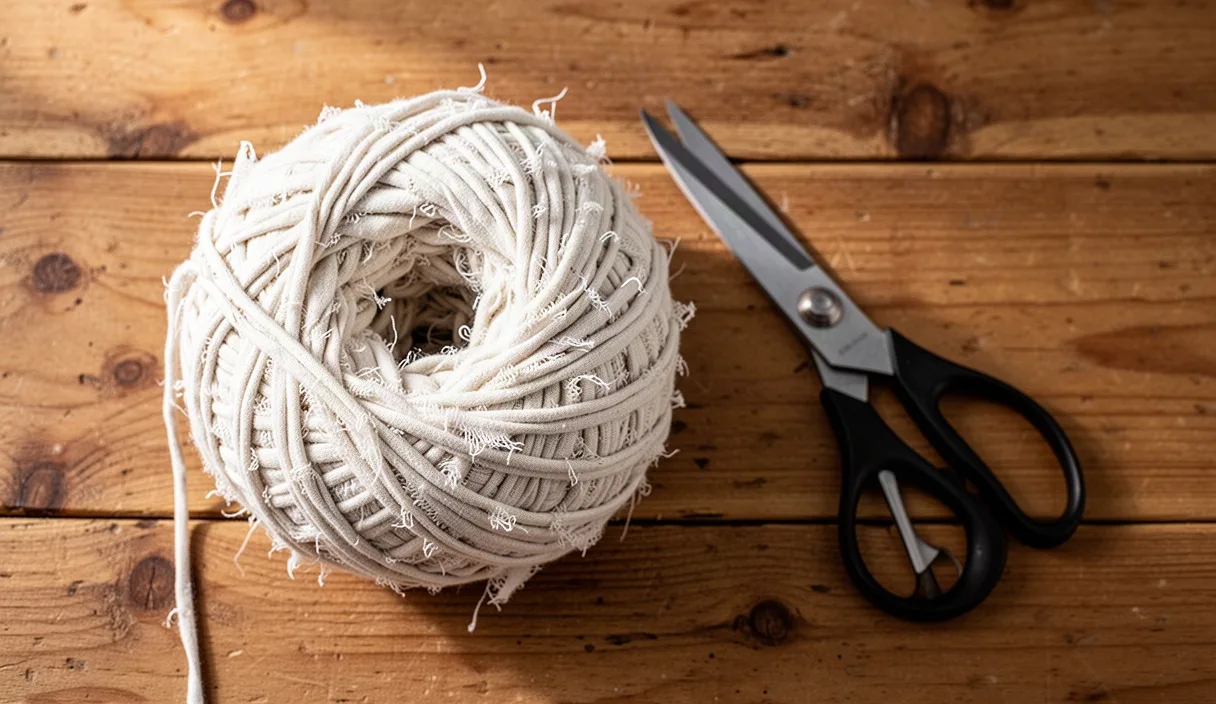

Old bed sheets tend to linger in linen cupboards long after their corners have frayed or their central fibers have thinned out from washing. While worn sheets might no longer feel crisp on a mattress, the fabric remains dense, washable, and exceptionally durable everywhere except the center wear spot. Rather than throwing these large textiles into municipal waste streams, you can break them down into continuous lengths of fabric yarn suitable for crochet, peg-loom weaving, rag-rug braiding, or knitting.
Turning woven yardage into rag yarn requires a bit of practical geometry and an honest look at fiber behavior. Unlike commercial t-shirt yarn, which is made from stretchy knit cotton that rolls neatly into a soft cord, woven sheeting behaves like ribbon. It has a warp and a weft, raw edges that shed lint, and corners that must be turned carefully. With a rotary cutter, a sturdy pair of shears, and an hour or two of rhythmic work, a standard flat sheet transforms into several hundred yards of workable rag yarn.
Selecting Suitable Cotton Bedding
Not every sheet in the donation box deserves a place in your rug project. The ideal candidates are woven percale flat sheets made from pure cotton or high-ratio cotton blends containing at least 80 percent plant fiber. Percale features a balanced plain weave where horizontal weft threads alternate over and under vertical warp threads. This structure gives the strip structural integrity when pulled under high tension on a loom or a large crochet hook.
Sateen weaves require caution. Sateen achieves its silky sheen through floating threads, where several weft yarns bypass warp yarns across the surface. While soft against skin, sateen sheets slip dramatically when coiled into braids and tend to fray aggressively along raw edges when subjected to floor friction. Flannel sheets, made from brushed cotton, create a wonderfully thick, plush yarn, but they generate heavy fiber dust during cutting and will wear down more quickly in high-traffic hallways.
Fitted sheets present a mechanical puzzle. The flat central deck of a fitted sheet is usable, but you must slice away the elasticated casing and the tailored corner seams before measuring your cutting layout. Stash these cut-off scraps in an old pillowcase to use as rag stuffing for draft stoppers or pet beds. Inspect the main sheet against a bright window before cutting: hold it up to locate thin, translucent patches worn down by shoulders and heels. You can either cut around these weak areas or plan to splice past them later.
| Fabric Type | Weave Structure | Edge Behavior | Rug Suitability |
|---|---|---|---|
| Cotton Percale | Balanced one-over, one-under | Fibers tear straight; low fuzz | Excellent for warp and weft |
| Cotton Sateen | Floating threads over four yarns | Prone to excessive fraying | Poor for high-traffic mats |
| Cotton Flannel | Brushed plain or twill weave | Soft shed; high lint accumulation | Moderate; best for bedroom mats |
| Polyester-Cotton Blend | Synthetic and natural blend | Minimal lint; slicker texture | Good; dries quickly after washing |
Tearing Along Grain vs Shearing Edges
Once you cut off the thick top and bottom hems, you face a fundamental choice: should you tear the strips or cut them with scissors? Both methods produce distinct working properties, and the right approach depends on the final appearance you want for your floor covering.
Tearing relies on the grainline of woven cotton. By making a small snip into the hemmed edge with shears and pulling firmly with both hands, the tear naturally follows the path of least resistance between two parallel warp threads. This yields perfectly uniform widths down the entire six-to-eight-foot length of the sheet in under two seconds. The friction of the tear, however, pulls tiny hairs and loose thread ends out of the weave, leaving a fuzzy fringe along both sides of the ribbon. In a finished rustic rag rug, this halo softens the look and packs down into a thick mat, but it will coat your workspace and clothes in visible lint during the prep stage.
Shearing edges with a rotary cutter on a large self-support cutting mat keeps loose threads contained. Rotary cuts slice across both warp and weft threads cleanly, minimizing surface fuzz by keeping thread ends locked in place. The downside is time: you must fold the sheet carefully, align rulers, and cut through multiple layers with a sharp 45-millimeter or 60-millimeter blade. If you suffer from wrist or hand fatigue, tearing takes far less physical effort, though keeping an old vacuum cleaner nearby is practically mandatory.
- Choose tearing when: you want a rustic, fuzzy rug; you are using balanced plain-weave cotton percale; and you want to finish strip production quickly.
- Choose shearing when: you are using patterned sateen or blended fibers that wander off-grain; you want a sharp geometric stitch definition; or you are working in a space sensitive to airborne lint.
The Continuous Spiral Cutting Pattern
Joining hundreds of individual six-foot strips with knots or seams disrupts the flow of your yarn and introduces weak points into a rug. The continuous spiral cutting pattern transforms a rectangular sheet into a single unbroken strand, eliminating most joins before they happen.
Begin by cutting off the thick top hem, the side hems, and the bottom fold so you are left with a flat, clean rectangle of raw fabric. Lay the sheet out on the floor or across a broad table. Decide on your strip width before the first cut. For a heavy number 10 or 12 crochet hook, a strip width of 1 inch to 1.25 inches works reliably. For a broad braided hearth rug or a peg loom, aim for 1.75 to 2 inches.
Rather than cutting around the outer boundary like an apple peel, the most efficient method uses an alternating back-and-forth serpentine cut. Fold the sheet in half crosswise, aligning the bottom edge with the top edge, leaving the sides exposed. Cut upward through both layers in strips of your chosen width, stopping your blade or scissors precisely 1.5 inches before the folded top edge. Continue this parallel slicing across the entire length of the sheet until you have a wide fringe of loops hanging from an uncut backbone.
Unfold the sheet so it lies flat, with the uncut center band running down the middle between the fringe on both sides. To make the continuous strand, do not cut straight across the center band. Instead, cut diagonally:
- Slit the outer left edge off completely to create the initial yarn tail.
- Cut diagonally across the center backbone from the base of the first left strip to the base of the second right strip.
- Continue cutting diagonally from the second left strip to the third right strip, working steadily down the sheet.
- Cut off the final floating corner at the opposite end to finish the run.
When you finish, the back-and-forth cuts across the center merge into one continuous zigzag ribbon. Gently pull the ribbon through your fingers; the raw cut edges will curl inward slightly, turning the flat ribbon into a plump, rounded cord.
Joining Strips with Slit Interlocking
Even with spiral cutting, you will eventually reach the end of one sheet and need to attach a second. Sewing individual strip ends on a machine creates strong seams, but running back to a sewing table every twenty minutes disrupts your crafting rhythm. Slit interlocking, sometimes called the no-sew buttonhole join, creates a flat, durable bond using nothing more than a pair of small scissors.
To prepare the ends, trim both the tail of the working yarn and the tip of the new strip so they are square. Fold the end of the old strip back on itself by 1 inch. Use small scissors to snip a vertical slit down the center of the fold, roughly 0.5 inches long. Repeat this exact step on the new strip. When unfolded, each strip will show a neat vertical slit centered along its width.
- Lay the end of the new strip over the end of the old strip, lining up the two slits so you can see straight through both holes.
- Take the long tail of the new strip (the entire remaining length of fabric yarn) and thread it upward through both aligned slits from beneath.
- Pull the long tail all the way through the slit loop until the slack is taken up.
- Hold the old yarn in one hand and the new yarn in the other, then pull firmly in opposite directions. The overlapping fabric folds down on itself, locking into a flat square knot that will not slide apart under working tension.
If the knot puckers into a bulky lump, smooth the overlapping ears flat with your thumb. A properly interlocked slit lies nearly as flat as the rest of the strip, meaning it will blend into the woven or crocheted stitches without creating an uncomfortable bump under bare feet.
Winding Neat Center-Pull Yarn Cakes
A loose, tangled pile of freshly cut sheet yarn is an accident waiting to happen, especially if household pets or drafty doorways are nearby. Winding your ribbon into stable, center-pull yarn cakes keeps the strip flat and prevents the raw edges from fraying as you pull yardage during assembly.
Commercial tabletop yarn winders rarely handle fabric yarn well; the wide, stiff cotton ribbon frequently jumps off the gears and binds the spindle. Hand-winding around a simple nostepinne, a smooth wooden dowel, or a repurposed paper towel core offers far better control. Choose a core that measures roughly 1 to 1.5 inches in diameter.
Secure the starting tail against the top of the core with your thumb, leaving a 4-inch length hanging free out of the top to serve as your inner pull cord. Wind the first twenty wraps horizontally around the lower middle of the tube to create an anchor base. Next, begin winding at a 45-degree diagonal angle, rotating the core a quarter turn after every three wraps. Keep your tension moderate. Pulling fabric yarn too tightly around the core stretches the cotton out of shape and makes it difficult to slide the cake off when you finish.
When you wind, guide the strip so it enters the cake smoothly without twisting like telephone wire. Twisted strip yarn creates uneven, lumpy stitches that distort the flat plane of a rug. Once the cake reaches a diameter of 5 or 6 inches, tuck the final outer tail under two diagonal wraps to secure it, then gently slide the woven cake off the wooden dowel. You now have a yarn cake that feeds smoothly from the inside out without rolling across the living room floor.
Calculations for Finished Rug Yardage
Running out of sheet yarn halfway through a custom rug pattern is deeply frustrating, particularly since finding an exact color match from a second thrifted bed sheet is nearly impossible. Calculating your yardage requirements beforehand ensures your raw material matches your design ambitions.
A standard twin flat sheet contains roughly 4.2 square yards of usable fabric after removing hems. A full sheet offers roughly 5.3 square yards, a queen sheet provides approximately 6.2 square yards, and a king sheet delivers up to 7.4 square yards. When cut into 1.25-inch strips, each square yard of fabric yields roughly 28 linear yards of yarn. Thus, an average queen flat sheet will produce around 170 to 175 linear yards of sturdy rag yarn.
Rug techniques consume yarn at wildly different rates. Crochet uses the most material because stitches wrap over and through previous loops. Simple warp-and-weft loom weaving is the most efficient, while traditional three-strand braiding sits in the middle:
| Construction Method | Target Rug Size | Approximate Fabric Needed | Estimated Flat Sheets (Queen) |
|---|---|---|---|
| Single Crochet (10mm hook) | 2 feet by 3 feet (6 sq ft) | 210 to 240 linear yards | 1.5 sheets |
| Peg Loom Weaving | 2 feet by 4 feet (8 sq ft) | 180 to 200 linear yards | 1.2 sheets |
| Braided Rug (3-strand) | 3 feet by 5 feet (15 sq ft) | 420 to 460 linear yards | 2.5 to 3 sheets |
| Crochet Oval (12mm hook) | 4 feet by 6 feet (24 sq ft) | 780 to 850 linear yards | 5 sheets |
Always add a 15 percent buffer to your material calculations to account for trimming uneven edges, discarding weak or stained spots, and leaving tail allowances for fringe or final bindings.
Common Mistakes
Cutting fabric strips seems straightforward, but small missteps can compromise the strength and washability of your finished rug. Watching out for these common errors will save hours of rework.
- Ignoring the fabric grain on sateen or blends: Tearing synthetic blends or floating sateens across the grain results in a jagged edge that tapers down to nothing within two feet. Cut these with a rotary ruler instead.
- Cutting strips too narrow: Strips cut narrower than 0.75 inches lack the structural density needed for floor mats. They will wear through quickly under shoe heels, causing the rug to develop holes within a few months.
- Using brittle antique linen without testing: Very old sheets that spent decades in dry attics may suffer from dry rot. Pull firmly on a two-inch sample scrap; if it tears in two with a clean snap under moderate hand tension, the fibers have deteriorated and cannot support foot traffic.
- Letting the ribbon twist during joining: When interlocking slits, keep both strips flat against one another. If a strip twists within the slit, it produces a rigid bead that feels like a small pebble underfoot.
Practical Next Steps
Take an inventory of your current linen supply before buying any craft materials. Pull out sheets with visible tears, stains that resist laundering, or missing fitted mates, and wash them on a hot cycle without fabric softeners. Softeners coat plant fibers with chemical lubricants that cause cut edges to slip and shed threads during processing.
Set up a comfortable cutting station at waist height. Cutting down several queen-sized sheets on your hands and knees quickly leads to back pain. Clear a wide dining table or kitchen island, replace your rotary cutter blade with a fresh one, and test your planned strip width on a small pillowcase first. Working through one small pillowcase helps you find your preferred gauge and rhythm before you take your shears to full-sized bedding.