
Most pairs of jeans do not die of old age. They fail at specific, predictable coordinates where friction, tension, and body movement grind the cotton fibers down until the blue warp snaps and leaves behind a cobweb of white weft. When that breach opens, you face an age-old fork in the road: do you sit down with a thimble, an iron, and a packet of heavy sashiko thread, or do you clear off the workbench, drop the feed dogs on your sewing machine, and zip back and forth across the hole at eight hundred stitches per minute?
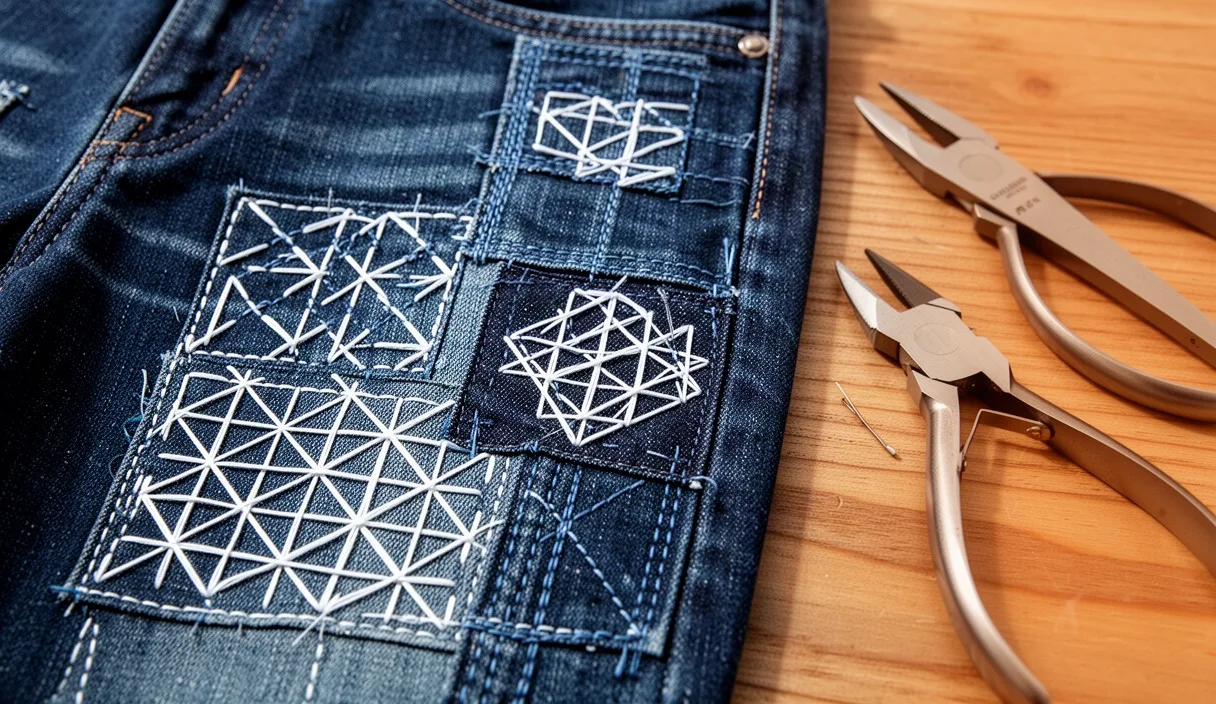
Both approaches yield durable results, yet they behave entirely differently against the human body. Sashiko relies on a structural grid of thick cotton running stitches that anchor a backing patch while allowing the garment to retain a pliable, woven drape. Machine darning replaces missing threads with dense, directional passes of fine thread that fuse the patch and the denim into a solid, reinforced plate. Deciding which technique fits your repair comes down to where the tear sits, how much structural give you need, and how much time you want to spend holding a needle.
Understanding Stress Points on Denim Garments
Denim is a twill weave, meaning the weft threads pass under two or more warp threads in an offset pattern. This geometry creates the diagonal ribbing characteristic of jeans and gives the cloth its lateral strength. However, daily wear exposes this weave to concentrated friction and multi-directional shear forces. The three most common failure zones are the crotch gusset, the knee caps, and the rear pockets along the upper bar-tacks.
The crotch experiences bi-directional strain. Every time you climb stairs, swing a leg over a bicycle, or sit cross-legged, the inner thigh seams pull outward while the fabric grinds against itself. If you weigh down the front pockets with a phone and a key ring, you create secondary pull lines that direct downward tension right into the central inseam intersection. Repairing this zone requires a technique that distributes load evenly across sound fabric rather than concentrating tension on a single stitched border.
Knees and thighs fail through abrasive thinning rather than pure tension. The knee cap creates a compound curve whenever your leg bends past forty-five degrees. Denim fibers stretch over the bone while the outer surface rubs against chair edges, carpets, or work floors. Over months, the fabric thins from an initial twelve or fourteen ounces down to five ounces or less before giving out. The surrounding fabric often remains deceptively thin, meaning your patch must extend at least 25 millimeters beyond the visible hole in every direction to anchor into stable cloth.
Tool Setup for Hand Sashiko Repairs
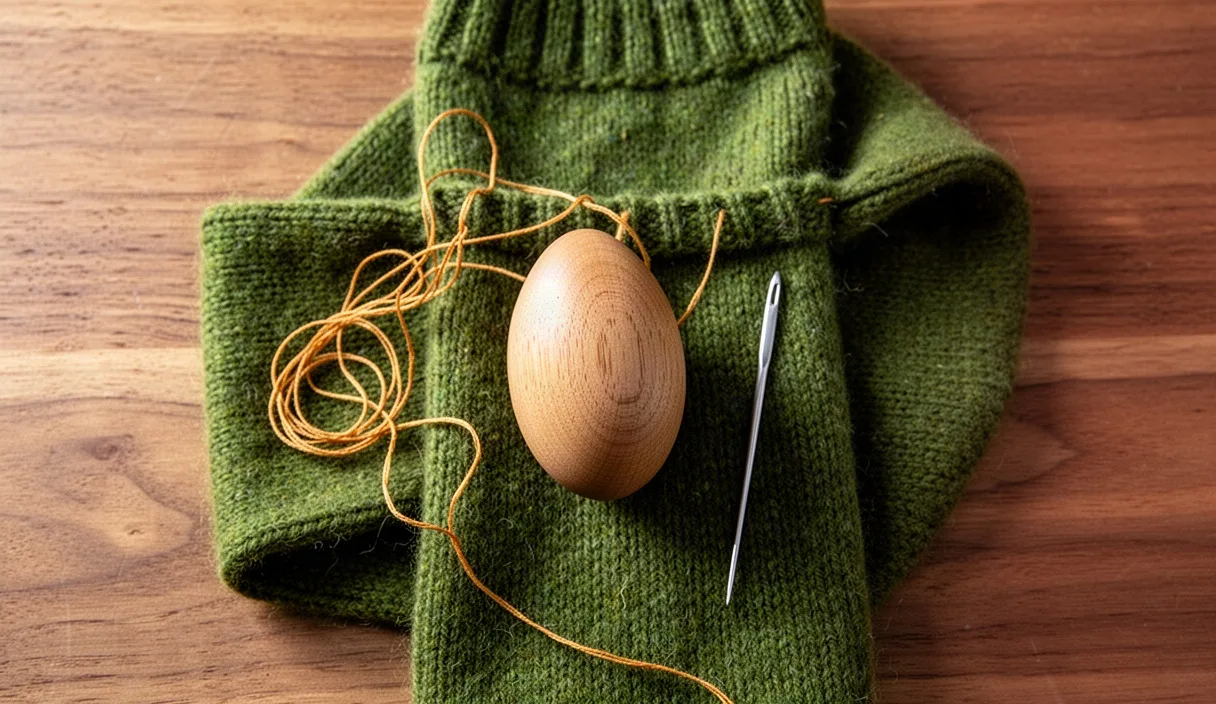
Hand sashiko does not require complicated machinery, but using generic domestic sewing supplies will produce frustrating results. Standard dressmaking needles are too slender and will bend when pushed through multiple layers of heavy twill, while regular all-purpose polyester thread lacks the girth to anchor frayed edges cleanly.
- Needles: Select authentic sashiko needles measuring between 48 and 60 millimeters in length. These needles feature a rounded, elongated eye that accepts thick yarn without fraying, paired with a sturdy shaft that will not snap under lateral pressure.
- Thread: Traditional sashiko thread is unmercerized, multi-strand matte cotton. Unlike embroidery floss, it is non-divisible and twisted firmly to resist snagging. A medium-weight thread (often labeled as 20/4 or 20/6) works best on 11 to 14-ounce denim.
- Palm Thimble: A leather or brass ring thimble worn on the base of the middle finger or the palm is essential. You push the needle through the cloth using the heel of your hand rather than your fingertips.
- Backing Patch: Choose a light to medium-weight cotton, such as 6-ounce to 8-ounce cotton twill, vintage denim, or linen canvas. Avoid synthetic backings, which do not shrink or wear at the same rate as the host denim.
- Marking and Securing: Water-soluble chalk pencils or iron-off pens, along with basting thread or temporary water-soluble fabric glue stick, hold the layers flat without pins getting caught in your working thread.
To begin, cut your backing fabric so it exceeds the margins of the hole by 25 to 35 millimeters. Press the edges of the patch to eliminate wrinkles. If the edges of the denim hole are heavily frayed, trim away only the loose, tangled threads longer than 10 millimeters, leaving the shorter structural fluff to become trapped beneath the stitch lines. Baste the patch to the reverse side of the garment using wide running stitches placed 15 millimeters from the edge of the patch. You can now mark a grid on the right side using your chalk ruler, spacing your stitch lines roughly 5 to 7 millimeters apart.
Machine Darning Setup with Heavy-Duty Thread
Machine darning operates on a totally different mechanical premise. Instead of laying long, resting threads along the twill, the machine uses a lockstitch mechanism to knit the torn fabric into a stabilizing patch. For this method, you need precise control over stitch tension and presser foot pressure to keep the fabric from puckering into a hard ball.
Set up your sewing machine with the proper needle first. A dedicated jeans needle (size 90/14 for lightweight denim, or size 100/16 or 110/18 for denim heavier than 13 ounces) features a modified medium ball point and a reinforced blade that penetrates dense weave stacks without deflecting. Using a standard universal needle often leads to skipped stitches, broken needles, and bird nests of thread on the underside.
- Lower or cover the feed dogs: If your machine includes a drop-feed switch, disengage the feed dogs so you can move the denim freely by hand in any direction. If your machine lacks this lever, clip a darning plate over the teeth.
- Attach a darning foot: Install a spring-loaded free-motion embroidery or darning foot. This foot holds the fabric down momentarily while the needle rises, preventing the cloth from lifting with the needle bar, then releases pressure so you can guide the jeans smoothly.
- Thread selection: Use a high-tensile 40-weight or 50-weight polyester or polyester-wrapped core cotton thread. Avoid heavy topstitching thread in the bobbin, as it clogs the shuttle hook during rapid directional changes. Match your thread color to the indigo base, or keep two spools handy: one matching the blue warp and one matching the off-white weft.
- Stabilizer application: Iron a piece of fusible lightweight cotton woven interfacing or position a light 5-ounce denim scrap beneath the hole. Secure it with temporary spray adhesive or basting stitches around the perimeter.
To execute the darn, run the machine at a steady, moderate pace while moving the fabric slowly under the needle. Begin 20 millimeters outside the damaged area, stitching parallel to the grain of the denim twill. Move the fabric back and forth along the vertical warp threads until the entire hole and its thinned borders are filled with parallel lines placed 1 to 2 millimeters apart. Next, pivot forty-five degrees or run perpendicular passes across the first layer to interlock the stitches. Keep your hand speed consistent; moving too quickly produces long, loose stitches that catch on fingernails, while moving too slowly builds an unyielding lump of thread.
Flexibility Testing Across Knees and Thighs
The true test of any mending job is not how it looks resting flat on a cutting mat, but how it articulates when you bend, squat, and walk. Knees and upper thighs expand and contract across three axes. If a repair creates an inflexible plate surrounded by worn denim, the dynamic stress simply migrates to the outer edge of the repair, tearing the original denim along the perimeter line within a few weeks.
| Performance Factor | Hand Sashiko Repair | Machine Darning Repair |
|---|---|---|
| Lateral Flexibility | High; cotton running stitches expand and slide slightly with weave movement. | Low to Moderate; high-density lockstitches form a semi-rigid matrix. |
| Thickness and Bulk | Moderate; relies on patch plus thread loops, soft to the touch. | Thin; compresses fibers flat, but can feel stiff against bare skin. |
| Time Required | 60 to 180 minutes depending on grid density and pattern size. | 15 to 35 minutes once the machine and hoop are configured. |
| Equipment Investment | Low; requires needle, sashiko thread, chalk, and thimble. | Moderate to High; requires reliable sewing machine and specialized feet. |
| Repair Reversibility | Easy; stitches can be snipped out without harming original cloth. | Extremely difficult; thousands of lockstitches fuse permanently into fibers. |
When you apply sashiko over an articulated joint, the long running stitches act like miniature expansion springs. Because the thread is not tied down at every needle drop, the cloth can shift slightly along the stitch path. The structural backing carries the tension while the denim flexes naturally. This makes hand sashiko remarkably comfortable across the kneecap and lower thigh, where a rigid patch feels abrasive against the skin during repetitive motion.
Machine darning, by contrast, creates a compact, dense composite. On knee blowouts, a tight machine darn often produces a cardboard-like stiffness for the first ten or twelve wears. It holds the rip closed cleanly, but if the surrounding fabric has thinned out, you run a high risk of "perimeter shear", where the rigid darn stays intact while the softer vintage denim next to it snaps clean under joint pressure. For high-flex zones, machine darning works best when done with lower thread density and wider spacing between passes.
Longevity Under Frequent Machine Washes
Every trip through a washing machine exposes denim to wet abrasion, centrifugal extraction forces, and tumbling friction. How each repair method survives twenty or thirty standard cycles depends on fiber compatibility and thread anchoring.
Sashiko stitches are long by design, typically 3 to 5 millimeters on the face of the fabric. In top-loading machines with aggressive agitators, these exposed thread floats can occasionally snag on buttons, zipper teeth, or metal hardware from other garments in the load. To protect the stitches, garments mended with sashiko should ideally be washed inside out, placed inside a mesh wash bag, and run on a gentle cycle with cold water. Over time, the unmercerized cotton thread softens, blooms, and settles deeper into the host denim, effectively embedding itself into the twill until it becomes almost impossible to snag.
Machine darning holds up exceptionally well to rough laundering. Because the stitch length is microscopic (typically 1.5 to 2.5 millimeters) and locked tight to the backing, there are no exposed strands for hardware to snag. You can throw machine-darned jeans into standard wash cycles without a second thought. However, high-heat tumble drying presents a hidden danger: if you used pure polyester thread to darn a 100 percent cotton pair of jeans, the cotton fibers will shrink slightly in the heat while the polyester thread will not. This shrinkage differential results in localized puckering around the patch that cannot easily be ironed flat.
Choosing the Right Method for Your Garment
Neither technique is universally superior; each solves a particular problem under a specific set of mechanical conditions. Selecting the correct method depends on the location of the tear, the time you have available, and your aesthetic preference.
Choose hand sashiko when working on:
- Front thigh panels and knee sections where soft flex, breathability, and skin comfort matter most.
- Vintage or collectible selvedge denim where you want the repair to celebrate the history of the garment rather than hide it.
- Oddly shaped zones like rear pockets, outer side seams, or cuffs where manipulating a full pair of jeans under a small sewing machine arm is physically cumbersome.
- Denim heavier than 15 ounces, where standard domestic sewing machines struggle to penetrate the seam bulk without stalling or snapping needles.
Choose machine darning when working on:
- The crotch gusset and inner saddle. This area experiences pure shear friction; sashiko thread floats here will quickly abrade and pill against opposite leg panels, whereas machine darning sits flat and flush.
- Small, clean punctures, belt loop blowouts, or vertical tears along the front fly facing that need immediate, low-profile reinforcement.
- Workwear and utility trousers that must withstand commercial laundries, muddy conditions, and heavy spin cycles without requiring special wash-day treatment.
- Projects where time is the primary constraint and you need the garment wearable before tomorrow morning.
Common Mistakes to Avoid
The most frequent error in hand sashiko is pulling the thread too tight as you complete each row. Denim is flexible, and your stitching thread needs to relax into the weave. If you pull each row taut, the fabric will accordion together, creating irreversible puckers. Leave a tiny, almost imperceptible loop of slack at the turn of every row to allow the repair to stretch when the garment is worn.
In machine darning, the primary failure is darning without an adequate backing patch. Running thousands of machine stitches directly into weakened, fraying cotton without a stabilizing underlayer simply shreds the remaining fibers. The needle punches hundreds of tiny holes, turning your thinned denim into something resembling perforated postage stamp paper that tears open under the slightest pressure.
Another universal mistake is stopping the repair exactly at the edge of the hole. Cotton tears because the surrounding perimeter is exhausted. Always extend your reinforcement at least an inch into fabric that still feels thick and healthy between your fingers. If you skip this buffer zone, the tear will simply reopen along your neat new perimeter.
Next Steps for Your Project
Before making a single stitch, assess the damaged area with honest fingers. Turn the jeans inside out, hold them up to a bright window or work lamp, and inspect the perimeter of the hole. The area that needs support is not just the open gap; it is every square inch where light shines cleanly through the worn weave.
Cut your backing patch from pre-washed, non-stretch cotton fabric so that future wash cycles will not shrink the patch out from under your mend. If you decide to darn by machine, test your needle and thread tension on a scrap of similar denim first to make sure your bobbin tension is not pulling loops to the top. If you choose sashiko, mark your guide lines lightly with tailor's chalk, grab your thimble, and keep your stitch lengths consistent. If a pair of jeans has structural damage right across a flat-felled crotch seam with structural thread loss, consider consulting an alteration professional with an industrial cylinder-arm machine, which can easily access tight tubular spaces that domestic beds cannot reach.