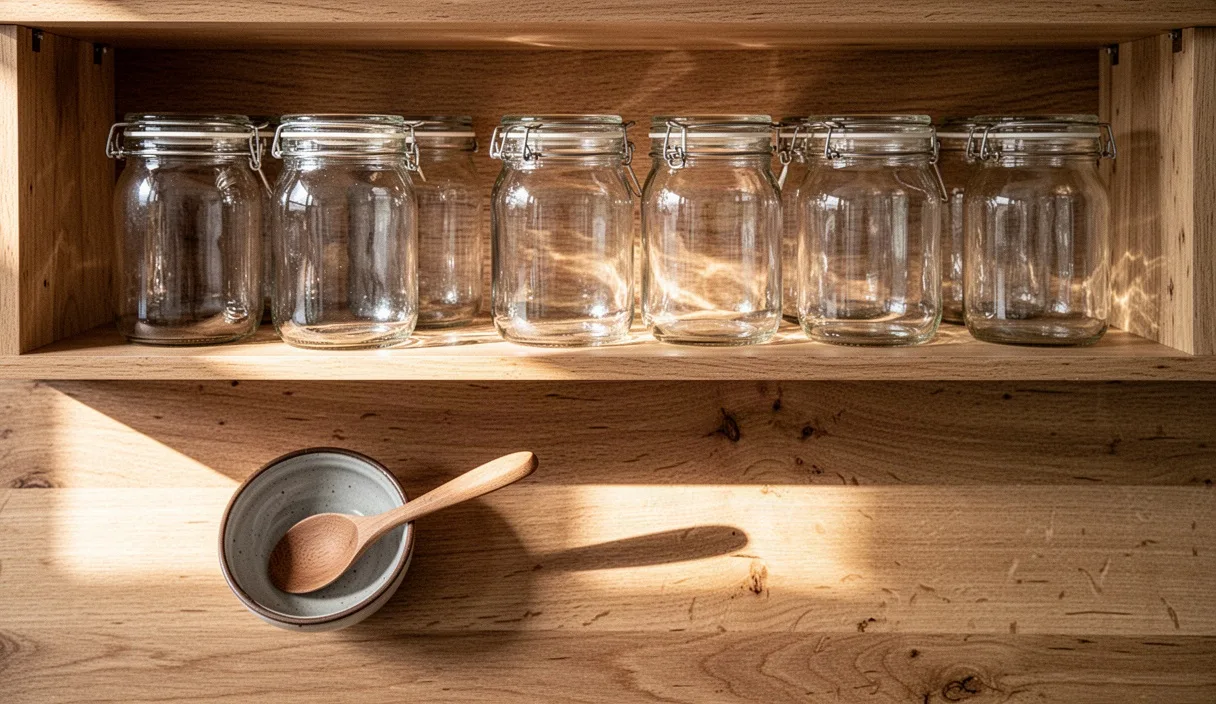

Most commercial glass jars are built to survive freight vibrations, warehouse moisture, and months of shelf handling. Unfortunately for home canners and pantry organizers, the adhesives that keep paper labels attached to those jars are designed with that exact same durability in mind. Reaching for harsh chemical solvents like acetone, mineral spirits, or commercial adhesive removers might feel like the only way forward, but these liquids introduce volatile organic compounds into your kitchen sink, create noxious fumes, and require specialized hazardous disposal for used rags.
You do not need industrial solvents to strip commercial food containers down to crystal-clear glass. Standard food-grade ingredients already sitting in your kitchen cupboards can dissolve water-based pastes and plasticized acrylic glues just as reliably. With an understanding of how distinct label adhesives react to heat, oil, and mild mechanical friction, you can convert commercial pickle, jam, and condiment jars into food-safe storage vessels without an acrid chemical cloud hanging over your dish rack.
Identifying Water-Soluble vs Polymer Glues
Before soaking an entire crate of jars, take thirty seconds to determine which adhesive chemistry you are facing. Packaging engineers rely on two main adhesive categories for consumer packaging: water-soluble gums and synthetic pressure-sensitive polymers. Treating a synthetic rubber adhesive with plain warm water will leave you with a gummed-up mess, while using oil on a water-soluble label wastes cooking supplies unnecessarily.
Water-soluble adhesives include modified cornstarches, dextrin pastes, and caseins. These are common on beer bottles, imported wine, traditional European mustard jars, and regional fruit preserves. You can identify them by wetting your fingertip with warm tap water and rubbing a dry corner of the label for ten seconds. If the paper begins to slide or the exposed adhesive turns into a slippery, milky gel, you are dealing with a water-soluble binder that will surrender quickly to simple moisture.
Polymer adhesives, including acrylic emulsions and synthetic hot melts, dominate modern grocery shelves. Peanut butter jars, mayonnaise containers, and pasta sauce vessels almost universally use these pressure-sensitive adhesives. If a dry label feels slightly rubbery when you lift an edge, or if a wet finger test produces zero slide and zero tackiness change, the glue is hydrophobic. It forms a moisture-resistant barrier that will repel warm water indefinitely unless you tackle it with heat or lipids.
| Adhesive Base | Typical Product Containers | Physical Reaction to Water | Primary Removal Agent |
|---|---|---|---|
| Dextrin / Starch | Beer, European jams, regional preserves | Softens quickly, feels slimy to touch | Hot water immersion |
| Casein | Wine bottles, chilled beverage containers | Loosens slowly in warm liquid | Warm water with washing soda |
| Acrylic Polymer | Peanut butter, salad dressings, pasta sauces | Repels water, remains firm and sticky | Cooking oil and mild abrasive |
| Synthetic Hot Melt | Bulk condiments, heavy glass pickle jars | Zero reaction to cold or warm water | Direct heat followed by oil paste |
The Quick Boiling Water Immersion Method
When dealing with standard paper labels affixed with water-soluble glues or heat-sensitive adhesives, thermal transfer through the glass walls is the fastest route to a clean release. Thermal expansion softens the adhesive layer directly at the glass interface before the paper surface even gets wet, allowing entire labels to peel away in one single, satisfying sheet.
Start by testing the glass for thermal resilience. Most grocery store jars are blown from standard soda-lime glass rather than borosilicate, meaning they can crack if subjected to sudden temperature jumps greater than 40 to 50 degrees Celsius. Never pour boiling water directly into a jar that has been sitting in a cold room or refrigerator. Bring the jar to room temperature, or pre-rinse it under a running warm tap to temper the material before introducing near-boiling water.
Fill an electric kettle and bring it to a boil. Place your empty, tempered jars upright inside a heat-safe metal roasting pan or the basin of a dry stainless steel sink. Carefully pour hot water directly into the interior of the jar until it reaches the brim. Allow the heat to radiate outward through the wall of the container for approximately eight to twelve minutes. As the glass heats up, the adhesive melts from the inside out.
Grasp the top rim of the jar using an insulated silicone glove or a folded dry towel. Find a loose corner of the label and slowly pull it away at a 45-degree angle. If you encounter resistance, do not rip the paper. Leave the hot water inside the jar for an additional three minutes to let the heat penetrate thicker foil-lined or laminated labels. Once peeled, empty the interior water down the drain and let the container cool on a wooden board or cloth towel to prevent thermal shock from cold stone countertops.
Mixing the Oil and Baking Soda Rub
Synthetic pressure-sensitive glues will laugh at boiling water, leaving behind a gummy, gray rectangle that traps lint forever. For these stubborn residues, a simple kitchen emulsion of oil and sodium bicarbonate will break the bonds of the adhesive without releasing volatile chemical fumes into your home.
The science here is straightforward. Polymer adhesives are hydrophobic, which means their chemical structures blend easily with other non-polar substances like triglycerides found in cooking oil. The oil dissolves the sticky resin matrix. Meanwhile, sodium bicarbonate (standard baking soda) provides mild mechanical abrasion. With a Mohs hardness rating around 2.5, baking soda particles are firm enough to strip loosened glue molecules off the container, yet soft enough that they cannot scratch soda-lime glass, which rates between 5.5 and 6.5.
Mix your paste in a small ramekin using the following ratios:
- Base recipe: Combine two tablespoons of neutral cooking oil (canola, sunflower, or spent vegetable oil) with three tablespoons of baking soda to create a thick, gritty paste similar in texture to wet mortar.
- Citrus modification: For extremely tacky hot-melt adhesives, add a teaspoon of fresh lemon juice or a drop of food-grade orange oil. The natural d-limonene compound acts as a natural hydrocarbon solvent to accelerate the breakdown.
- Alternative binder: If you prefer not to use liquid vegetable oil, unrefined coconut oil works equally well when warmed slightly until soft, though it will firm up on colder kitchen counters.
Spread the paste generously across the glue-covered glass with your fingers or a small silicone basting brush, ensuring every trace of residual adhesive is coated under a two-millimeter layer. Walk away and leave the jar alone for twenty to twenty-five minutes. This dwell time allows the vegetable oil to migrate completely through the adhesive lattice before you apply any physical elbow grease.
Mechanical Scraping with Wooden Spatulas
Razor blades and metallic putty knives are often recommended on craft forums, but using metal against glass in a kitchen setting creates genuine risks. Steel blades, particularly when nicked or held at the wrong angle, can cause invisible micro-scratches along the surface of soda-lime containers. Over time, these micro-fissures weaken the structural integrity of the jar, leading to sudden fractures under hot water baths or inside pressure canners.
Instead, use dense wooden implements such as flat-edged bamboo spatulas, wooden stir-sticks, or even stiff boxwood pottery ribs. Wood possesses sufficient structural rigidity to shear sticky paste away from smooth surfaces without leaving gouges, scratches, or metallic gray tracks behind.
Hold the jar firmly with one hand while anchoring the bottom against a damp tea towel to prevent it from sliding across your counter. Hold your wooden scraping tool at an acute angle, roughly 30 to 40 degrees relative to the glass. Work in deliberate, straight strokes starting from the outer perimeter of the adhesive patch toward the center.
As the wooden edge collects the softened slurry of baking soda, oil, and suspended glue, wipe the edge clean on a piece of scrap paper or old cardboard before continuing. If you encounter a section where the paper backing remains partially intact, do not gouge into it with the sharp corner of the wood. Reapply a dab of your oil paste directly to the stubborn spot, wait an extra ten minutes, and repeat the scraping pass.
Degreasing the Glass for Storage Use
Once the adhesive polymers and backing paper are entirely scraped away, you are left with an oily residue across the outer perimeter of your container. If left unaddressed, this thin lipid film will go rancid over several months, attracting airborne kitchen dust and leaving foul odors on pantry shelves.
Water alone will bead up and roll off this oil film. To strip the glass clean, you must use an effective surfactant that binds both to water and to fats. Ordinary liquid dish soap containing sodium laureth sulfate works exceptionally well for this task. Apply two to three drops of undiluted liquid dish soap directly to the oily zone without wetting the jar first. Rub the soap in thoroughly using your dry fingers; you will feel the viscous oil emulsify into a thick, cloudy lather.
Rinse the jar thoroughly under hot running water at approximately 50 degrees Celsius. As the warm water washes the emulsified soap away, rub your bare thumb firmly across the cleaned area. If the glass emits a sharp squeaking sound under friction, the surface is free of lipids. If your thumb glides silently or feels greasy, repeat the soap scrub once more.
For jars destined to hold dry baking goods, spices, or dehydrated herbs, perform a final rinse using a solution of one part white distilled vinegar to four parts warm water. The mild acetic acid strips away any lingering alkaline streaks left by the baking soda and neutralizes soap scents, ensuring that your storage container remains entirely odor-neutral.
Safe Recycling for Damaged Lids
While the glass container itself can last for decades of continuous repurposing, the metal lid that came with it often has a strictly limited lifespan. Commercial food jars typically feature lids stamped from tinplate or tin-free steel coated with an interior plastisol gasket. This gasket is designed to compress against the rim once during industrial vacuum packaging; it rarely retains its original sealing properties indefinitely.
Inspect every lid carefully under good kitchen lighting before consigning it to your pantry stash. If the plastisol seal has cracked, peeled, or deeply grooved, it can no longer guarantee an airtight seal for dry ingredients, and it must never be used for home boiling-water canning. Similarly, any lid showing rust along the inner rim threads or visible dents from a handheld jar opener must be retired immediately.
Disposing of commercial lids responsibly requires attention to local municipal recycling guidelines:
- Tinplate and steel caps: Most municipal scrap systems accept standard metal jar caps, but because of their small footprint, they can slip through the mechanical screens at automated sorting facilities. Check whether your local facility asks you to drop loose metal caps into a larger steel soup can, then crimp the top of the can shut before placing it in the bin.
- Composite closures: If a lid features thick plastic components bonded directly to metal inserts, or an integrated cardboard liner that cannot be pried loose, it belongs in standard household trash. Municipal recycling streams cannot separate these hybrid materials cleanly.
- Gasket removal: Do not attempt to burn or chemically dissolve the plastisol rubber out of a lid in an effort to save the steel shell. The fumes from heating synthetic vinyl gaskets are toxic and pose indoor health hazards.
If you have any doubts about whether a damaged lid is food-safe for pantry storage, discard it and swap in an aftermarket food-grade silicone stretch cap or an appropriate size-matched replacement band.
Common Mistakes
Label removal seems like an elementary chore, but a few widespread habits routinely ruin perfectly good jars or turn a five-minute task into an hour-long ordeal.
The most common failure is shocking cold glass with sudden thermal spikes. Taking a pickle jar straight from the refrigerator and placing it directly into a sink of scalding water will regularly crack the bottom heel of the container. Always bring the glass to ambient room temperature before introducing hot water.
Another frequent error is scrubbing residual glue with coarse steel wool or abrasive green scouring pads. These metallic and heavy-duty nylon pads leave countless micro-abrasions on the exterior surface. While the scratches may look like minor cosmetic flaws, they permanently compromise the structural strength of the glass, drastically increasing the chance that the jar will shatter under moderate impact or normal handling.
Finally, avoid attacking polymer adhesives before removing the top layer of paper. If a label has a glossy, water-resistant plastic laminate over the printed design, oil cannot penetrate downward into the glue. You must lift or tear away the outer printed layer first so that your baking soda paste can make direct physical contact with the underlying adhesive bed.
Practical Next Steps
Instead of cleaning jars one by one as they empty out of your refrigerator, set up a dedicated recycling bin beneath your sink to collect dry containers until you have five or six ready for processing. Batching your jar prep saves both warm water and cleanup time, allowing you to mix a single dish of baking soda paste for multiple containers in one sitting.
Once your jars are degreased and air-dried on a clean rack, run a piece of low-tack paper masking tape or use an erasable chalk marker to label the contents and packaging date. If you need to date pantry staples in the future, avoid heavy synthetic tapes or mailing labels; stick to plain painter tape, which peels away clean months later without requiring another round of oil, baking soda, and patience.